
Footwear Insights
Shoe Sampling Process: From Prototype to Confirmation Sample

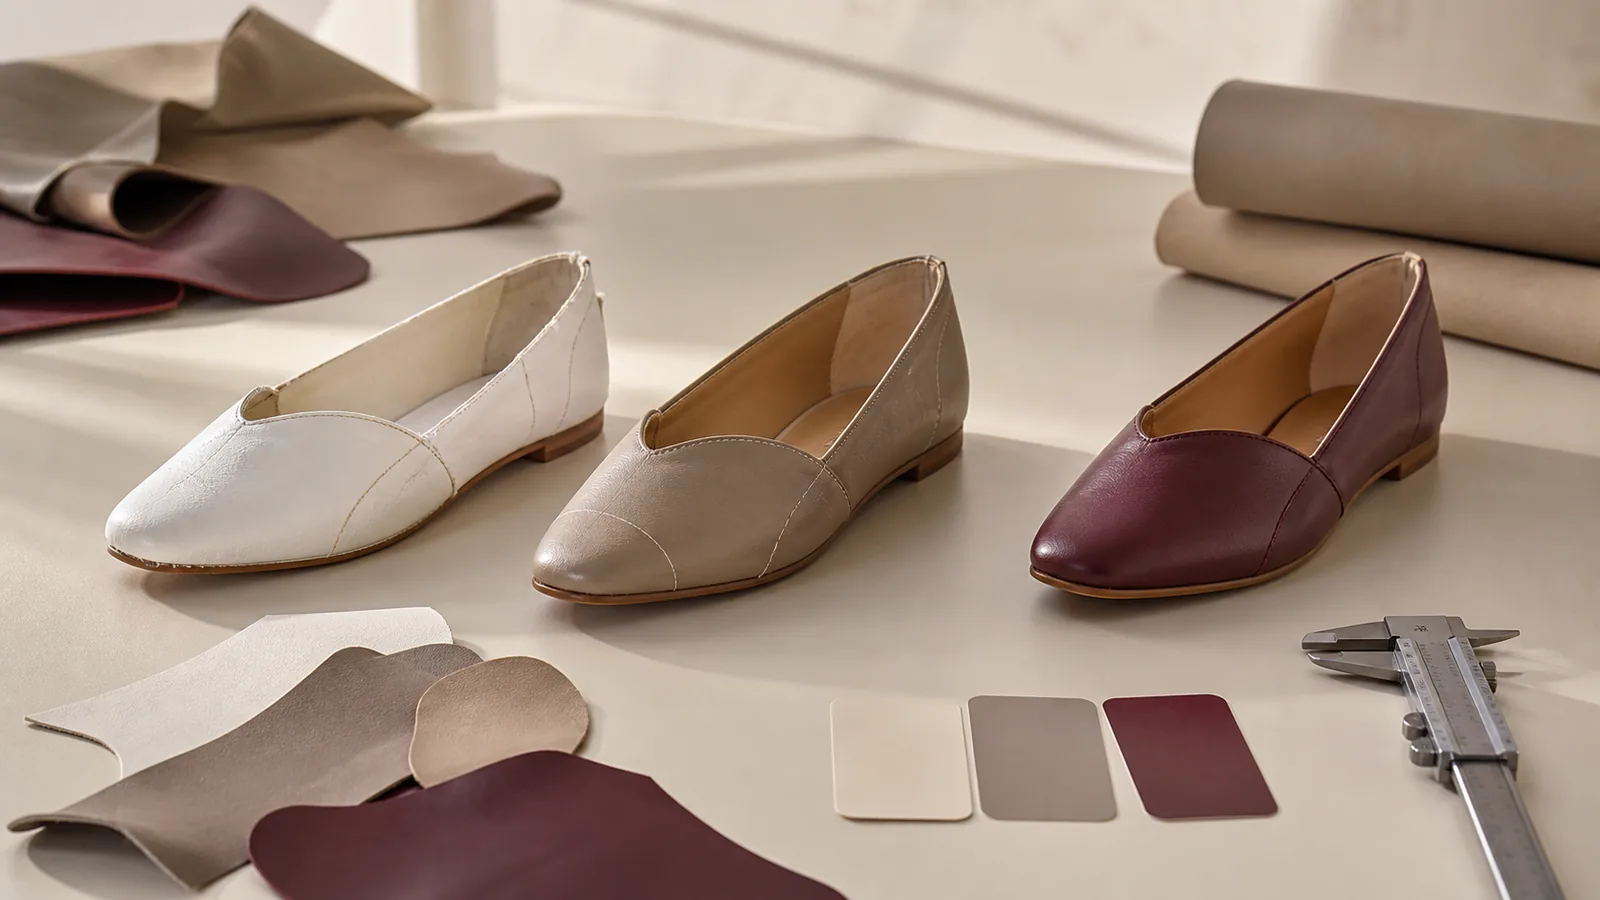
A reliable shoe sampling process turns an idea into one controlled, production-ready reference. Start with a measurable brief, use the first prototype to expose construction questions, test fit on the intended last and size, confirm actual materials and colors, then approve a final confirmation or pre-production sample with a locked bill of materials and revision record. Sample names vary between factories; the purpose and approval evidence matter more than the label.
Do not ask one attractive sample to prove everything. Appearance, fit, component performance and production repeatability are separate approval decisions.
The sample stages buyers should define
| Stage | Main purpose | Buyer should approve—or record |
|---|---|---|
| Development prototype | Translate sketch/reference into a physical construction | Silhouette, pattern direction, basic components and open questions |
| Fit sample | Check the intended last, internal volume and foot interaction | Fit size, fitting protocol, pressure/slip observations and pattern changes |
| Material/color sample | Use nominated upper, lining, sole, hardware and finish | Supplier codes, color standards, hand, gloss, grain and combination risks |
| Size set | Check grading beyond the base size | Selected boundary/middle sizes, key measurements and grading corrections |
| Confirmation or pre-production sample | Lock the production reference | Approved construction, BOM, labels, packaging, tests and signed change log |
A project may combine stages or repeat one stage. Record the function of every pair on the sample request so “second sample” cannot mean a fit sample to one person and a final color sample to another.
Step 1: Make the first brief measurable
Send more than a mood board. A useful starting pack identifies:
- Shoe type, intended consumer, target market and expected use.
- Reference images or drawings with the must-keep design features marked.
- Last/fit direction, base size, size range and sizing system.
- Upper, lining, sock, reinforcement, sole and hardware direction.
- Construction, logo locations, labeling and packaging.
- Target tests, restricted-substance needs, quantity and launch timing.
- Which elements the supplier may propose from existing components.
If a dimension is important, place it on a drawing and state how it is measured. ISO 19409:2022 specifies methods for measuring basic last dimensions physically or on a 3D model. That makes it a useful vocabulary anchor, although the standard notes that last dimensions do not necessarily equal anatomical foot dimensions.
D6’s custom slipper development page shows how upper, lining, footbed, outsole and branding choices can be captured before sampling.
Step 2: Use the prototype to find unknowns
The first prototype should answer structural questions quickly. Depending on the project, it may use substitute color or material when the final input is not yet available. Mark every substitution visibly in the sample report; otherwise a reviewer may approve a property that production will not reproduce.
Review the sample from multiple views and on foot. Check topline, toe shape, vamp, throat, counter, heel/sole relationship, symmetry and material behavior at seams and folds. Separate three outcomes:
- Approved feature—freeze it.
- Revision—state the location, target and evidence.
- Open decision—name the responsible person and due date.
“Make it more comfortable” is not a revision. “Reduce pressure at the lateral forefoot while keeping the approved toe appearance” gives the developer a controlled problem to solve.
Step 3: Run a consistent fit review
Fit feedback becomes useful only when conditions are recorded. Use the correct sample size, a defined sock or hosiery, the intended fastening adjustment and testers representative of the target consumer. Record foot length and relevant observations; do not infer a complete population fit from one convenient wearer.
Evaluate entry, toe allowance, joint position, heel hold, instep pressure, strap contact and stability during walking. Note whether a problem is bilateral or one-sided. Photograph the exact area and link comments to the sample ID.
Size labels also need control. ISO 9407 defines Mondopoint sizing from measurements of the foot the shoe is intended to fit, while ISO 19407 provides guidance for conversion among major systems. A conversion table does not replace validation of the brand’s intended fit and last grading.
Step 4: Approve production-intent materials as a system
Fit can change when the final upper, lining, foam or reinforcement replaces a temporary material. Confirm supplier code, thickness/tolerance, color, finish and backing—not only a generic name such as “PU” or “leather.” Review adjacent materials together for color bleeding, migration, abrasion, squeak and bonding risk.
Select laboratory tests from the actual failure risks. For example, ISO 17694 covers upper/lining flex resistance and ISO 17708 covers resistance to separation between the upper and outsole or adjacent sole layers. The acceptance criteria must come from end use, target-market/customer requirements and qualified laboratory advice.
Step 5: Check the size set strategically
A size set checks whether the base-size pattern and components grade correctly. The factory and buyer should agree which sizes to make based on the range and risk. Review length/width measurements, topline and opening, strap or fastening position, outsole/upper matching and visual proportion.
Do not approve grading from photographs alone. A feature that looks correct in the base size can become too close to an edge, too short for adjustment or visually heavy at a range boundary.
Step 6: Build a single revision log
| Field | Example of controlled information |
|---|---|
| Sample identity | Style, color, size, round, date and factory reference |
| Comment | One issue per numbered line with photo/location |
| Required change | Measurable target or approved reference |
| Owner/status | Buyer/factory/supplier; open, revised or approved |
| Verification | Next sample ID, measurement, photo or report |
Keep old comments visible and close them explicitly. Updating only a marked-up photo can lose material codes, packaging decisions or earlier approvals.
Step 7: Approve the confirmation sample with documents
The final approval package should include the signed or digitally controlled sample, BOM, color standards, drawings, size/measurement chart, artwork, labels, packaging, test reports and final revision log. State which item governs if records conflict.
The confirmation sample is a production reference, not evidence that every bulk pair is identical. Production still needs incoming controls, in-line checks and final inspection. If lot inspection uses ISO 2859-1, agree the sampling plan, inspection level, AQL and defect classification separately; that standard is for lot-by-lot acceptance sampling, not for approving the development sample.
FAQ
How many shoe samples are normally needed?
There is no universal number. A proven existing construction may need fewer rounds than a new last, outsole or heel. Plan by unresolved risks and do not skip fit or production-intent material validation to hit an arbitrary round count.
Is a confirmation sample the same as a pre-production sample?
Sometimes, but terminology varies. Define whether it uses final materials, tooling, artwork and process, and whether it is the signed production reference.
Can fit be approved in one size?
The base size can establish fit direction, but it cannot prove the whole range. Use an agreed size-set strategy to check grading risks.
What changes require a new sample?
Changes affecting fit, structure, material, component source, color interaction, bonding, tooling or compliance usually need documented re-evaluation. Define the trigger and approval authority before bulk.
Start with a sample brief the factory can act on
Send the reference, intended consumer, base size/range, material direction, quantity, target market, required tests and launch date. Then contact D6 with the footwear project so the team can clarify the appropriate development route and quotation basis.
Sources & references
- ISO, *ISO 19409:2022 — Measurement of last dimensions*: https://www.iso.org/standard/81028.html
- ISO, *ISO 9407:2019 — Mondopoint system of sizing and marking*: https://www.iso.org/standard/71594.html
- ISO, *ISO 19407:2023 — Conversion of footwear sizing systems*: https://www.iso.org/standard/83106.html
- ISO, *ISO 17694:2016 — Flex resistance of uppers and linings*: https://www.iso.org/standard/60978.html
- ISO, *ISO 17708:2018 — Whole-shoe upper-sole adhesion*: https://www.iso.org/standard/68281.html
- ISO, *ISO 2859-1:2026 — Lot-by-lot acceptance sampling by attributes*: https://www.iso.org/standard/85464.html